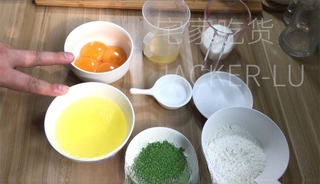
Coconut Matcha Swiss Roll, hand-in-hand teaches you how to make a cake roll, where the refreshing matcha aroma blends with the coconut fragrance.
A homemade recipe for Coconut Matcha Swiss Roll, combining egg, white sugar and milk; baked until light, fluffy and golden. Easy to follow with simple step-by-step instructions.
Instructions
- 1
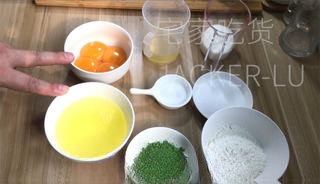
4 eggs, separate the egg whites and yolks and set aside. Note: Refrigerate the egg whites in the freezer for 10 minutes for more stable whipping.
- 2
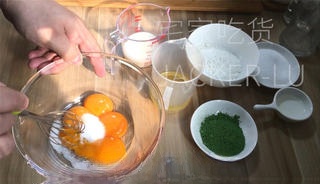
4 egg yolks and 10 grams of white sugar, first mix evenly.
- 3
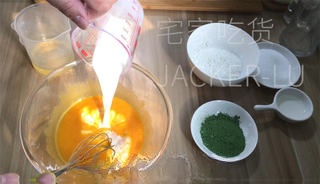
Add 60 grams of milk and 50 grams of vegetable oil in order, and stir.
- 4
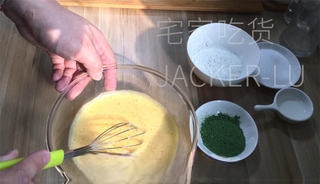
Stir until it is emulsified evenly.
- 5
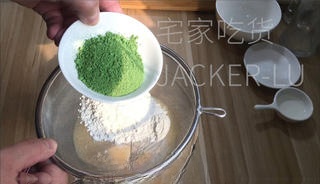
Sift in 55 grams of cake flour and 10 grams of matcha powder.
- 6
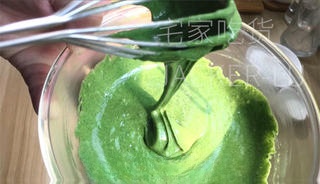
Stir in a Z-shaped motion until the color is uniform, and set aside the batter once it is smooth and free of lumps.
- 7
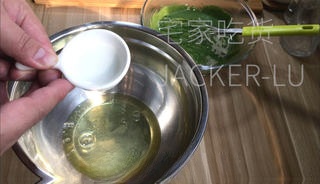
Take 4 frozen egg whites, add 5 grams of lemon juice, and whip them briefly until large bubble-like foam forms. Note: The lemon juice can be replaced with a few drops of white vinegar.
- 8
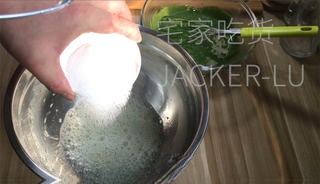
45 grams of white sugar, added in three different foam states: coarse foam, medium foam, and fine foam.
- 9
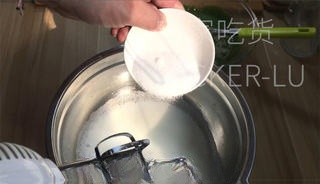
Note: Stir the mixer at a constant speed in one direction; this will make the foam more uniform and delicate.
- 10
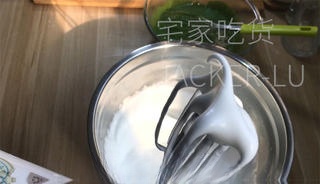
Whip until the beater is lifted, and the large elastic hook on it stands up—that means it's whipped properly.
- 11
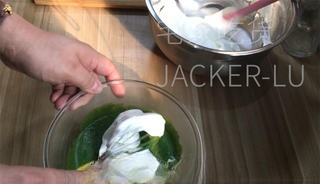
First, take 1/3 of the egg white mixture and add it to the egg yolk mixture.
- 12
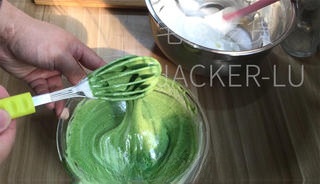
Mix well.
- 13
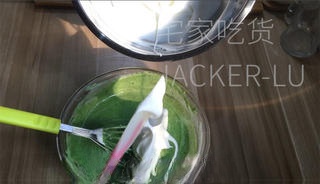
Then take 1/3 of the egg white foam and add it to the egg yolk mixture.
- 14
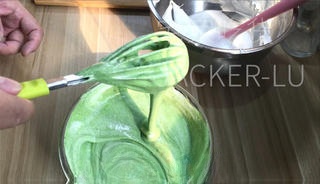
Mix well.
- 15
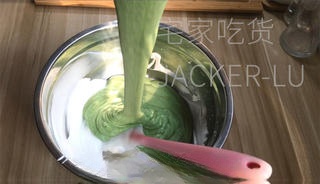
Then pour it all back into the egg white mixture.
- 16
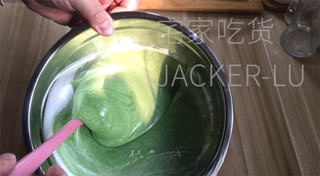
Use a scraper to fold, cut, and mix, and fold evenly.
- 17
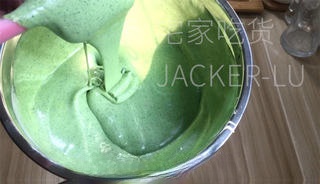
Stir until the color is uniform. Note: Stir a little faster to prevent deflating.
- 18
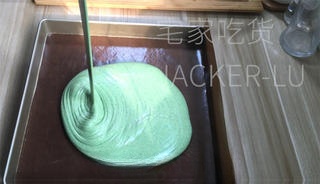
Pour the batter into the prepared baking pan from a height of 20 cm.
- 19
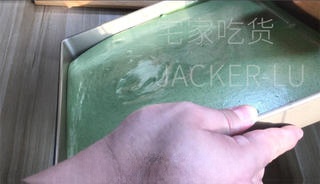
Gently shake the baking pan to let the batter level naturally.
- 20
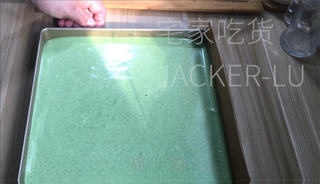
Shake twice to remove large air bubbles.
- 21
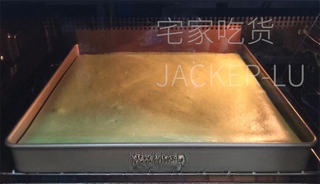
Preheat the oven to 170°C for the top heat and 160°C for the bottom heat. Once preheated, place it in the oven and bake for about 17-20 minutes. Note: If you cannot adjust the top and bottom temperatures separately, bake at 160°C for 20 minutes.
- 22
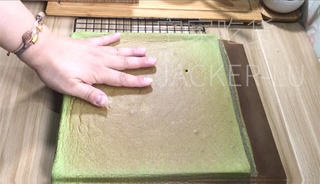
Once baked, take it out, tap it to release the internal heat, then unmold and let it cool.
- 23
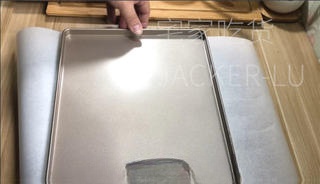
After the cake cools down a little, cover the surface with a sheet of baking paper, place a baking tray underneath, and then flip it over.
- 24
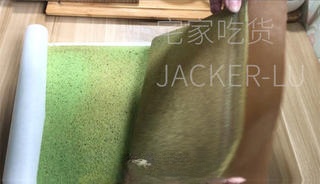
Gently peel off the greaseproof paper.
- 25
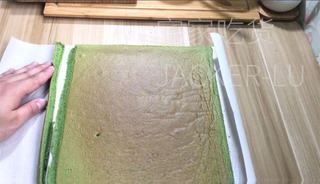
Make a 45° angled cut at the joint, this way the joint will be a bit rounder, and then adjust the four sides.
- 26
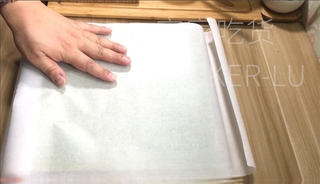
Cover with baking paper again and let it cool completely. Note: Covering with baking paper is to prevent the surface from cracking, and you can also wrap it with plastic wrap.
- 27
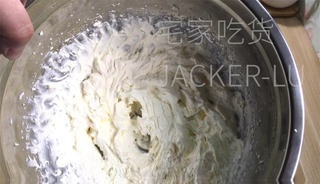
After the cake layers have completely cooled, we whip the cream. Use 180 grams of heavy cream and 18 grams of granulated sugar, and whip until it reaches a fairly stiff consistency.
- 28
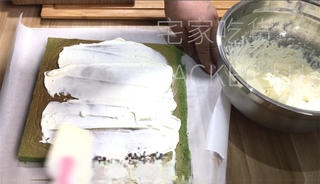
First, evenly spread a thin layer of cream on the surface.
- 29
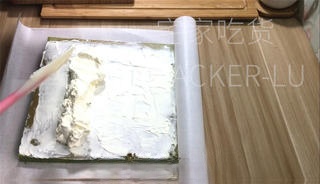
Then at the place where you start rolling, pile up the cream.
- 30
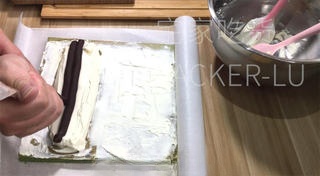
Finally, squeeze on some red bean paste. Note: Leave a little cream for spreading later.
- 31
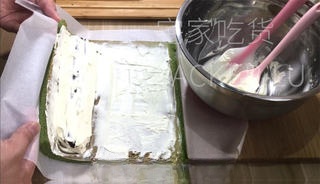
Press one end down, lift the other end of the baking paper and press it forward, then slowly roll it up.
- 32
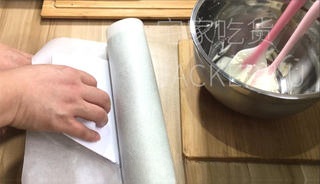
Use a scraper to press against the top layer of greaseproof paper, then tighten the bottom layer of greaseproof paper and make it round.
- 33
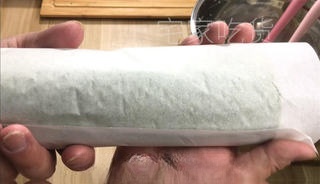
Refrigerate for 1 hour, or freeze for 10 minutes; it will be easier to cut after setting.
- 34
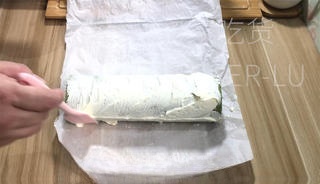
After setting, take it out and spread a thin layer of the remaining cream on the surface.
- 35
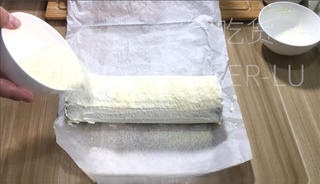
Evenly sprinkle with desiccated coconut, covering the surface completely with coconut.
- 36
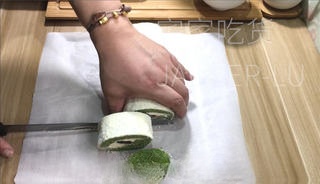
Finally, cut it open and you can enjoy the food.
- 37
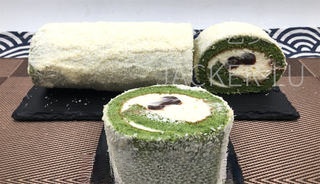
Coconut Matcha Swiss Roll, done O(∩_∩)O
- 38
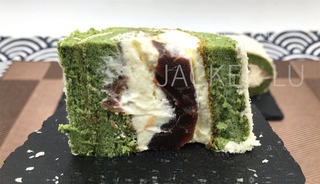
Light matcha aroma, sweet cream and red bean paste, rich coconut flavor
- 39
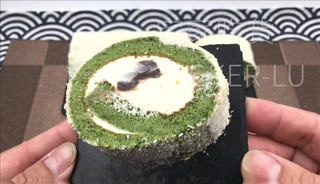
Like a scroll of springtime painting, it blooms with the freshness of matcha and the richness of coconut aroma.
- 40
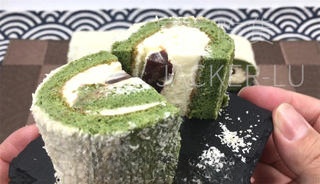
When chewing, the soft matcha cake and the rich coconut aroma intertwine in the mouth, awakening the taste buds and enchanting.
Video Sharing
Share your cooking video with others
No videos yet. Be the first to share!
Discussion
Ingredients
Main Ingredients
- Egg4 piece
- Milk60 g
- low-gluten flour55 g
- Matcha powder10 g
- Desiccated coconutto taste
- red bean pasteto taste
Seasonings
- white sugar55 g
- Vegetable oil50 g
- Lemon juice5 g
- Light cream180 g
- white sugar18 g