Cream Puff Fingers
Cream Puff Fingers — low-gluten flour, salted butter and water, baked until golden and puffed. Simple ingredients, satisfying homemade flavor.
Instructions
- 1
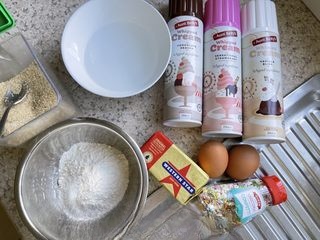
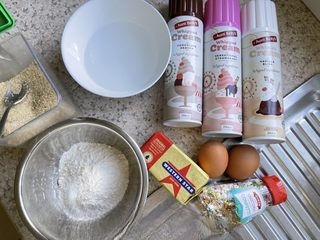
All ingredients. The three jars of canned whipped cream in the upper right corner are solid cream when squeezed out, no whipping required. You can omit them if not available; the cream puffs are also quite good to eat as is. The colored icing sprinkles in the lower right corner are for decoration, kids really like them, but you can skip them if not available.
- 2
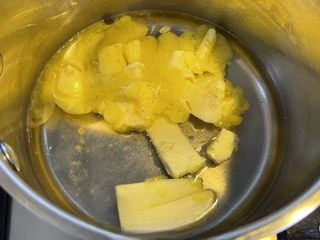
Butter, water, a spoon of sugar, heat, melt the butter, bring to a boil. If it is unsalted butter, you can add a spoon of salt.
- 3
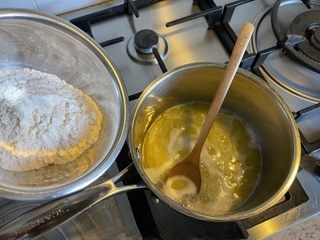
After boiling, reduce to low heat and add the flour.
- 4
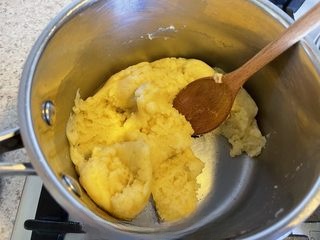
Stir quickly until evenly mixed.
- 5
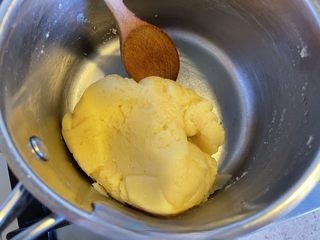
Continue stirring for 1 minute until it forms a smooth dough. Turn off the heat.
- 6
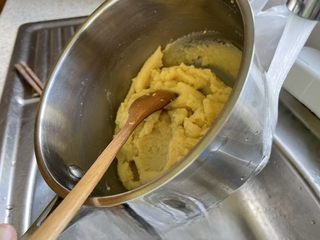
Flatten the dough slightly, place the bottom of the pan under the faucet, turn the water on high for about 10 seconds, then lower it to 30-40 degrees, making sure the dough does not cool completely.
- 7
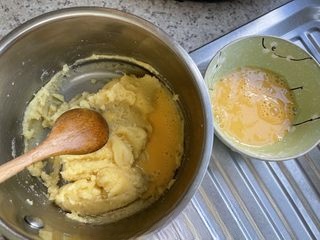
In the bowl is the beaten mixture of two eggs. While the dough is still warm, pour the egg mixture into the dough in several additions, and after each addition, you must stir it evenly.
- 8
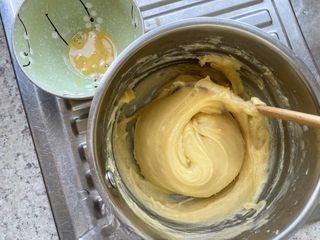
Stir the dough into a very thick batter. You might not use all the egg mixture, or it might not be enough, so adjust the amount of egg as needed. I didn’t use it all; only a little bit was left in the bowl.
- 9
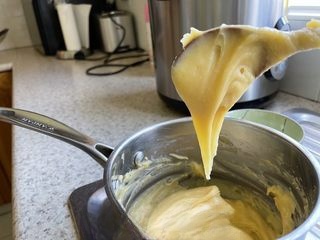
Batter consistency: When you lift the spoon, you can see an inverted triangle, and it stops after extending 4-5 cm, without continuing to slide down.
- 10
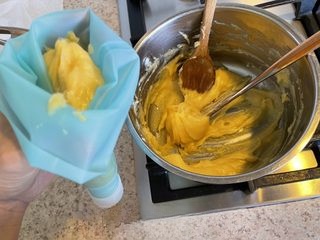
Put it into a piping bag.
- 11
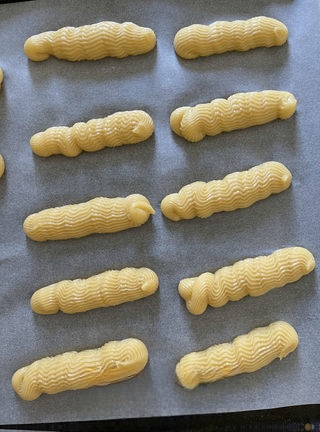
Shape into strips. Preheat the oven to 200 degrees and bake for 15 minutes to let it expand, then turn it to 180 degrees and continue baking for 25 minutes.
- 12

After baking, you can feel that the entire shell is crispy and hard, with no chance of shrinking back. At this point, take it out and let it cool before eating. If it is not hard enough, you can continue baking for 10 more minutes. The inside is hollow, so you can squeeze cream into it.
- 13
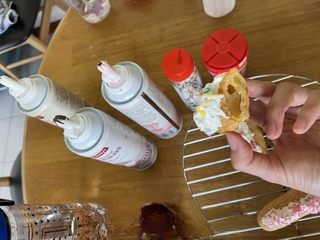
Now it's the baby's turn to get hands-on: For a four-year-old, squeezing in the cream is a bit difficult, so I let them squeeze it on the surface, then just sprinkle sugar on it. (They had so much fun 😃)
- 14

Completed.
Video Sharing
Share your cooking video with others
No videos yet. Be the first to share!
Discussion
Ingredients
Main Ingredients
- low-gluten flour100g
- Water160g
- Egg2 piece
- Noneto taste
Seasonings
- Salted butter80g
- Sugar5g
- Canned creamto taste
- Colored frostingto taste