Cute Christmas-shaped Cookies
Cute Christmas-shaped Cookies — butter, salt and powdered sugar, baked until golden and crisp. Simple ingredients, satisfying homemade flavor.
Instructions
- 1
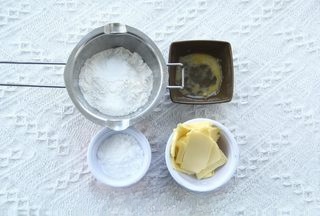
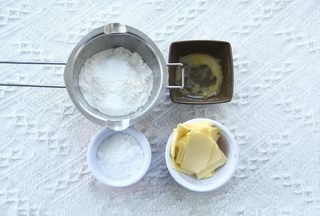
Prepare the ingredients. Cut the butter into small pieces and soften at room temperature.
- 2
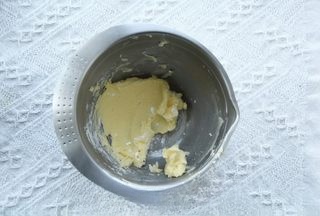
Soften the butter until it can be easily spread with a spatula, then add salt and powdered sugar and mix well (the fine particles of powdered sugar reduce the dough's extensibility, making it less likely for the cookie patterns to collapse).
- 3
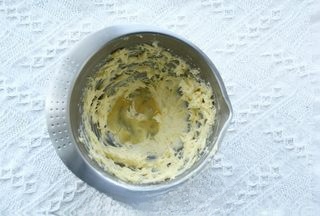
Beat at medium speed until fluffy and emulsified, the color turns pale, and the volume increases significantly. Add the room temperature eggs in three additions (when the ingredients are at similar temperatures, it is less likely for oil and water to separate).
- 4
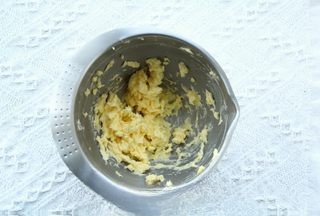
Beat until thoroughly blended before adding more, until all the egg mixture is added. A smooth and fluffy butter batter.
- 5
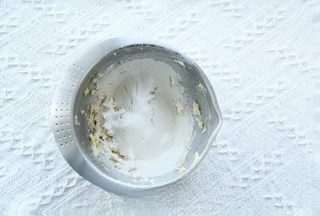
Sift the low-gluten flour and cornstarch mixture into the butter paste.
- 6
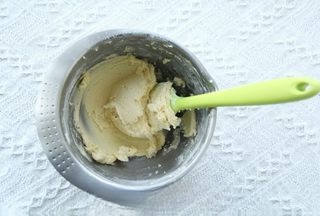
Fold and mix, pressing against the side of the bowl, using the left hand to help turn the bowl, until there is no dry flour. No need to overmix.
- 7
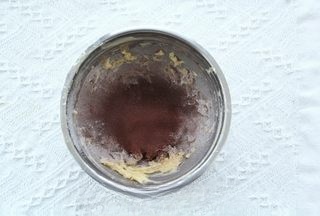
The cocoa batter is handled in the same way, with the cocoa powder mixed with the flour and sifted into the beaten butter batter.
- 8
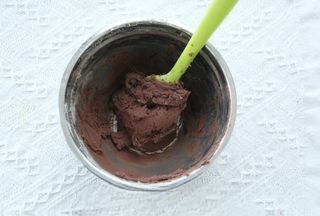
Cut, mix, and press evenly.
- 9
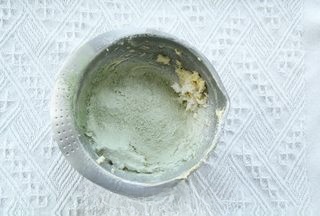
Sift low-gluten flour, almond flour, and matcha (no need to sift out in advance to prevent oxidation and discoloration) into the butter batter.
- 10
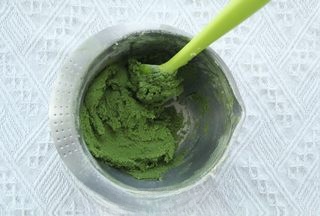
Cut, mix, and press evenly.
- 11
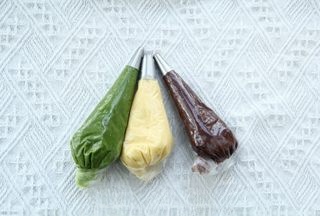
Once the colored paste is prepared, place it into a piping bag fitted with a decorating tip. Use a scraper to push it forward from the tail of the piping bag, and twist the tail tightly.
- 12
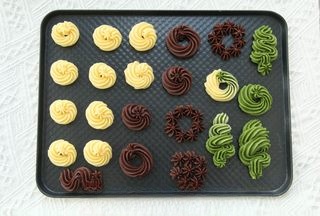
Preheat the oven to 180°C (top and bottom). Hold the piping bag with your right hand and pinch the piping tip with your left hand, keeping it vertical above the baking tray. Squeeze out the cookie dough at a steady pace. For rose/flower wreath shapes: pipe in a circle clockwise or counterclockwise, gently press down at the end, then lift to finish! For S-shapes: pipe at a steady pace following the S direction. For Christmas trees: pipe back and forth in an S shape, or pipe in a circular motion, gently pressing down at the end to finish. The trunk can be decorated with dough of the same color or finger cookies!
- 13
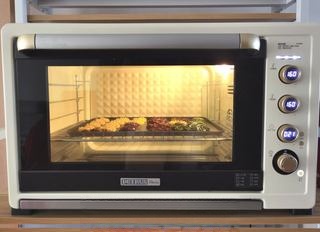
Place it in the lower-middle of the oven and bake at 160 degrees Celsius top and bottom for about 21 minutes. Slight browning is fine, but you must cover with aluminum foil to prevent excessive browning!
- 14
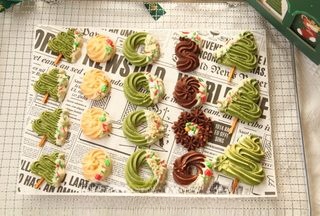
After baking, take out and let cool. Melt the white chocolate in a heatproof bowl over hot water. For the cooled cookies, dip one side into an appropriate amount of white chocolate, sprinkle with chopped hazelnuts, almond crisps, or Christmas sugar beads, and decorate according to personal preference!
- 15
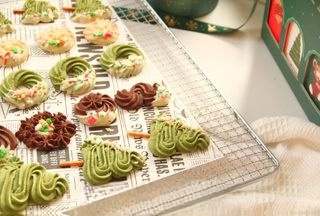
Wait for the chocolate to set, and the cute and delicious Christmas-shaped cookies are ready! Pack them in a box and give them to your friends!
- 16
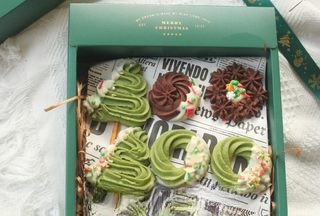
Finished product.
- 17

Finished product.
- 18
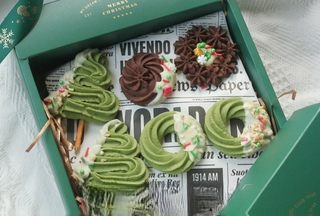
Finished product.
Video Sharing
Share your cooking video with others
No videos yet. Be the first to share!
Discussion
Ingredients
Seasonings
- Butter125 g
- Salt1 g
- Powdered sugar50 g
- Cornstarch5 g
- Butter125 g
- Salt1 g
- Powdered sugar60 g
- Cornstarch30 g
- Butter125 g
- Christmas sprinklesto taste
Main Ingredients
- whole egg liquid30 g
- low-gluten flour120 g
- whole egg liquid30 g
- low-gluten flour110 g
- Almond flour20 g
- Matcha powder6 g
- Cocoa powder15 g
- White chocolateto taste
- Hazelnut Chunks/Almond Crispsto taste