DIY Pickled Sweet Garlic
Fresh garlic heads go through days of soaking, salting, and sunning until the sharp bite mellows into sweetness, making a classic preserve that pairs with everything.
Instructions
- 1
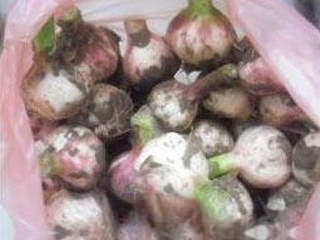
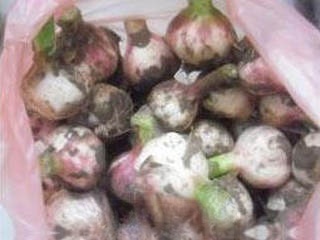
Prepare fresh garlic.
- 2
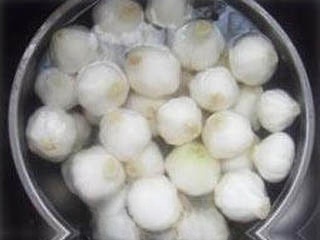
Remove the roots and stems from the fresh garlic, peel off the outer skin, and soak it in clean water for 3 days (change the water 2 to 3 times a day to remove the garlic's odor).
- 3
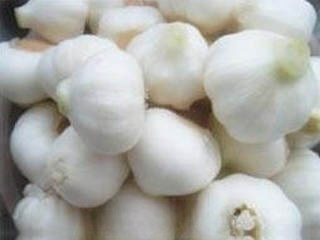
Take out the soaked garlic and drain the water.
- 4
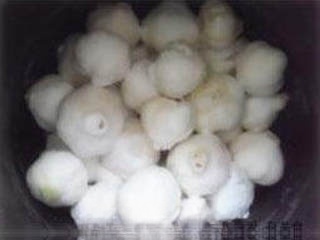
Put the garlic into a container, sprinkling a layer of salt over each layer of garlic, and turn it over once a day.
- 5
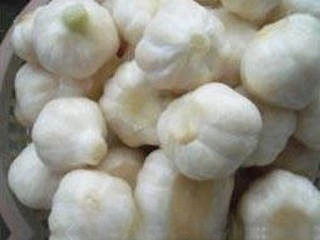
On the fourth day of pickling, take out the garlic, drain the water, and sun-dry it.
- 6
Put 3500 grams of water in a pot, add brown sugar and vinegar, and bring to a boil.
- 7
Remove from the heat and let it cool.
- 8
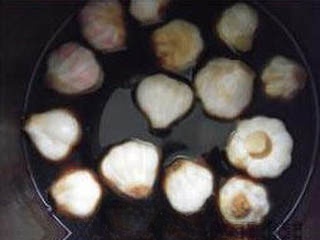
Put the dried garlic into the jar, pour in the cooled sugar-vinegar water, and it can be eaten after pickling for about a month.
Video Sharing
Share your cooking video with others
No videos yet. Be the first to share!
Discussion
Ingredients
Auxiliary Ingredients
- Fresh garlic5000 g
Seasonings
- Refined salt500 g
- brown sugar1kg
- Vinegar500 g
Main Ingredients
- Water3500 g