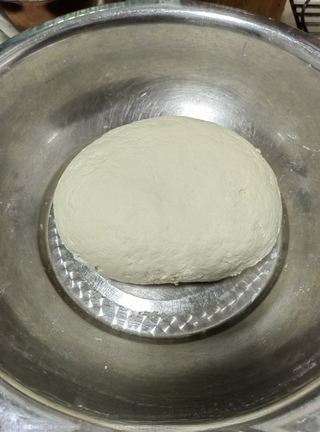
Homemade Face-Washing Cold Noodles - Super Detailed Exclusive
A traditional dough-washing technique separates springy wheat gluten from silky starch, which sets into chewy, slippery sheets worth the patient effort.
Instructions
- 1
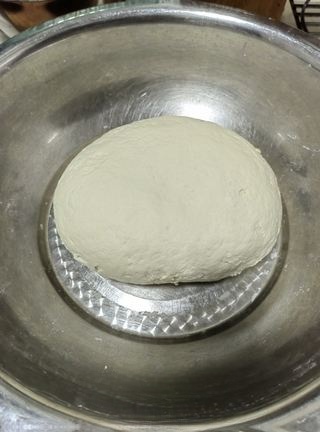
Depending on the number of people in your family, cover one piece of dough and let it rest for about half an hour.
- 2
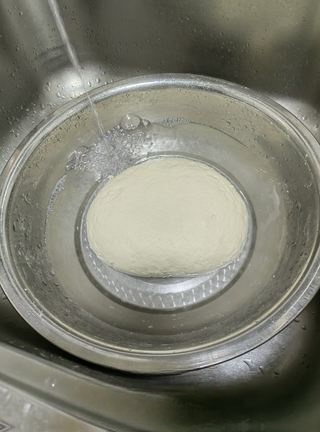
Add cold water to the rested dough until it covers the dough, preferably using a larger bowl.
- 3
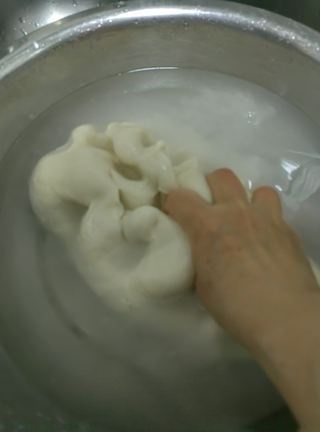
Keep kneading the dough.
- 4
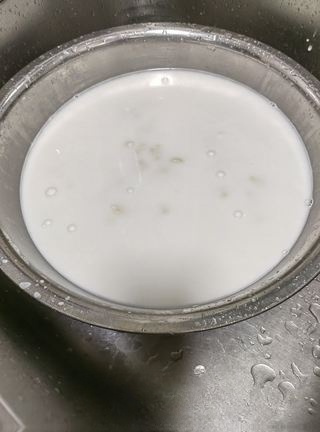
Wheat starch gradually precipitates, and the gluten appears in a fragmented form.
- 5
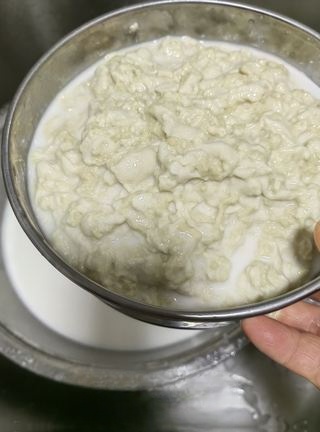
Find a larger bowl, strain the batter water, and set it aside.
- 6
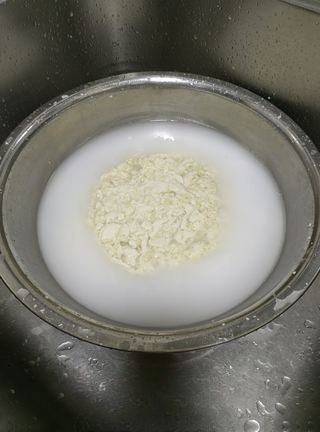
Add cold water to the gluten again and continue washing.
- 7
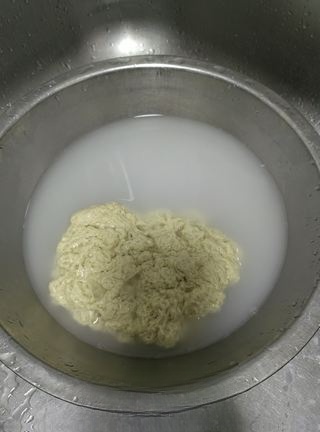
Filter again, wash again.
- 8
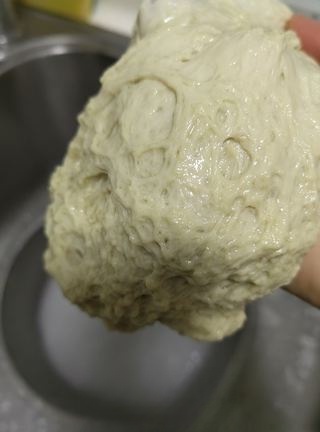
Until the washing water is basically clear, and the gluten is clean, elastic, and stretches without breaking.
- 9
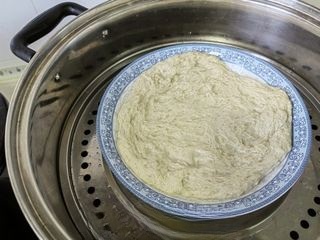
Spread the cleaned gluten flatly on an oiled plate, steam it for about half an hour, then turn off the heat and let it sit for two minutes before opening the lid. After taking it out, brush a thin layer of oil to prevent it from drying. If storing overnight, let it cool completely and cover it to prevent drying.
- 10
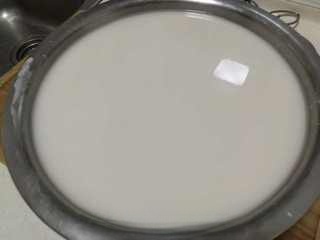
The starch water that has been filtered should be left in a large basin for more than six hours. In summer, make sure to refrigerate it. If the quantity is too large to fit in the refrigerator, you can cool it down with a fan. Because in hot weather, it will ferment, causing failure.
- 11
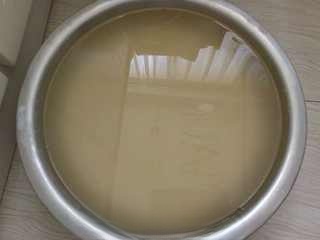
After the wheat starch has settled, the water on top turns yellow but remains clear.
- 12
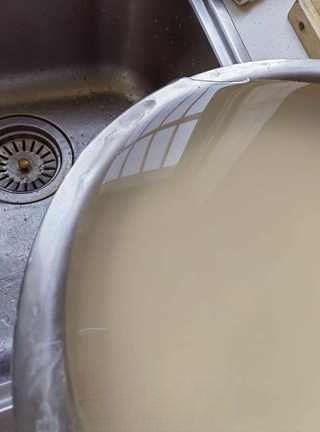
Gently lift the basin, do not shake it, tilt it to one side, and let the water slowly flow out along the edge of the basin. Be careful not to rush, to avoid disturbing the starch.
- 13
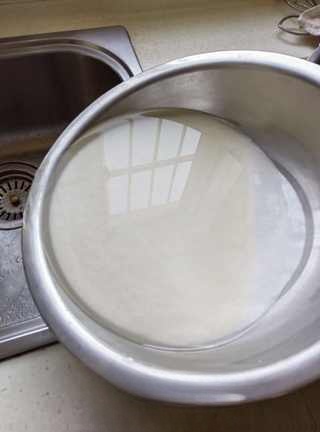
Only a small amount of clear water can be left in the basin, basically stopping the water filtration when the starch reaches the edge of the basin. The water must not be left too much.
- 14
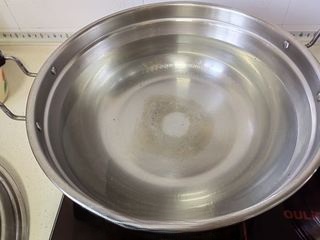
Prepare a large pot with a lid, fill it with 2/3 water, and bring it to a boil over high heat.
- 15
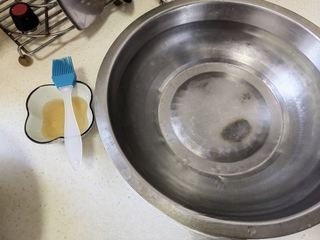
Prepare a basin of cold water and a small bowl of cooked oil, and set them aside for later use.
- 16
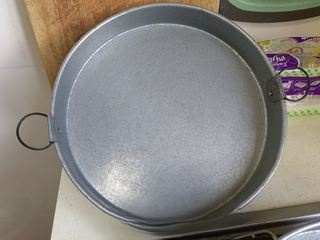
Prepare two liangpi rolls, pour and substitute as needed. My tool is made of tinplate, brought by a friend from Shaanxi, and it is very handy.
- 17
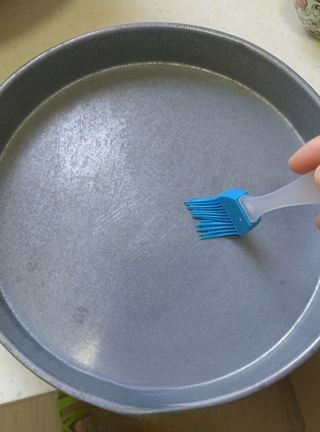
After the water boils, brush a thin layer of oil on the liangpi.
- 18
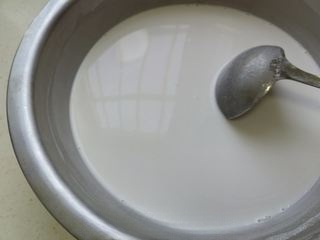
Stir the starch water with a spoon until evenly mixed.
- 19
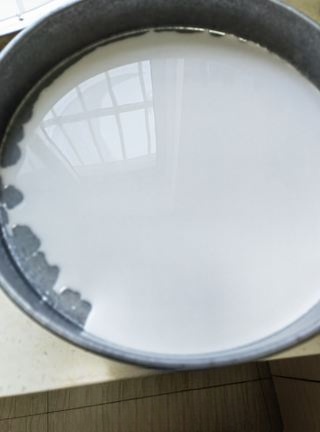
Scoop a spoonful of batter into the compass, turn it once, and spread it to cover the bottom.
- 20
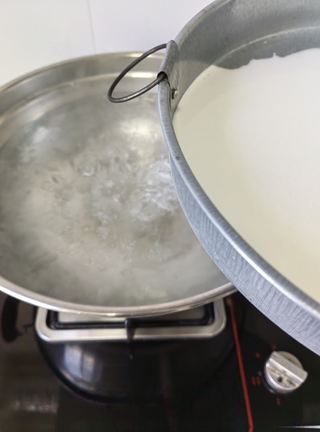
Place it in the pot so that the compass floats on the water surface. At this time, to avoid burning your hands, you can use low heat.
- 21
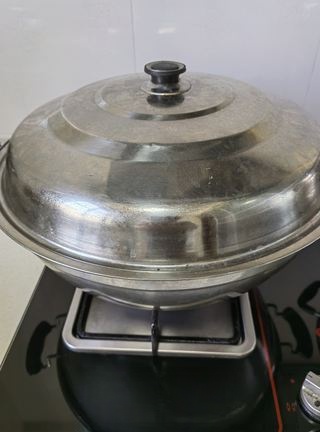
Slightly shape it, cover with the lid, and turn the heat to high. When steaming, make sure to use high heat.
- 22
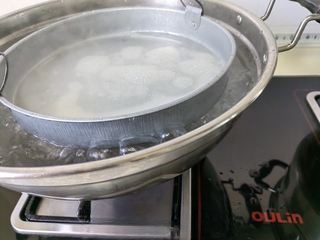
Boil over high heat for 2-3 minutes, then uncover. At this time, the cold skin will puff up, indicating it's done.
- 23
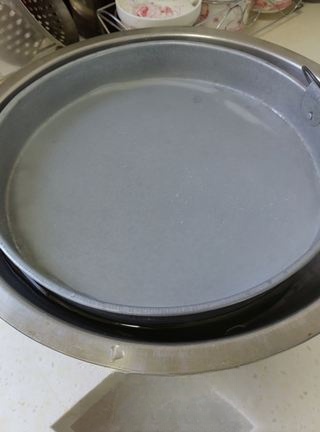
After taking it out, immediately put it into a cold water basin and rotate to cool down.
- 24
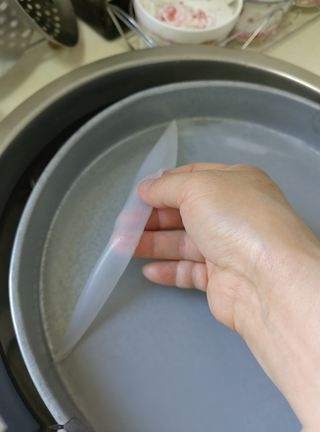
After cooling, easily remove the liangpi from one side of the compass.
- 25
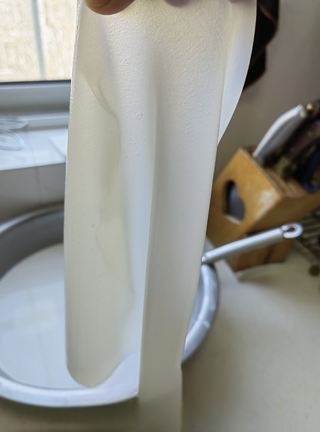
Crystal clear and full of elasticity.
- 26
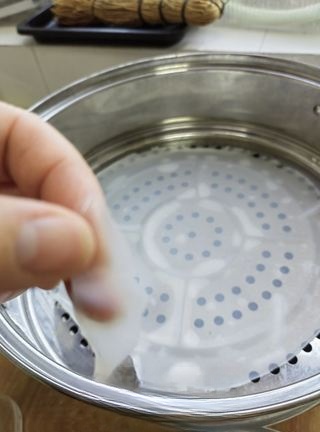
After making the first one, you can tear off a small piece to test its softness and hardness. If it feels hard, you can add a little water as needed, adding only a small amount at a time, about half a tablespoon to try.
- 27
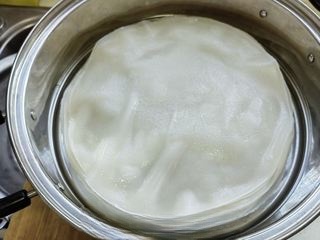
While steaming the first sheet, you can prepare the oiling and loading for another compass. By alternating production this way, it saves time and effort. Each time a sheet is made, a thin layer of oil needs to be applied to the compass to prevent sticking.
- 28
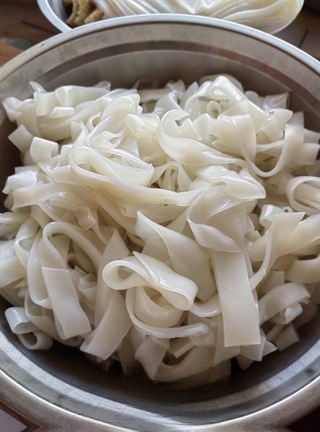
Cut the prepared cold noodles into long strips, either wide or narrow, according to your preference.
- 29
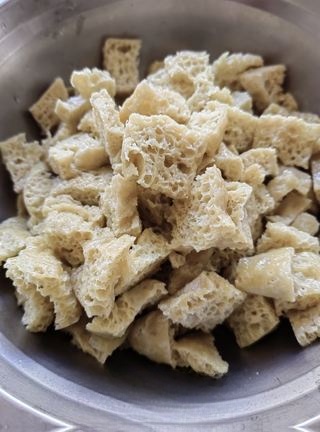
Cut the gluten into small thin pieces.
- 30
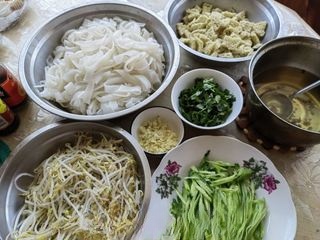
Prepare your favorite dressings and sauces.
- 31
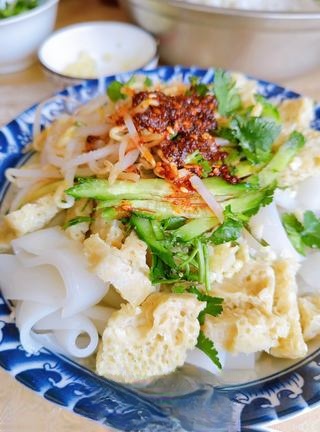
Eat a big bowl, full of satiety.
- 32
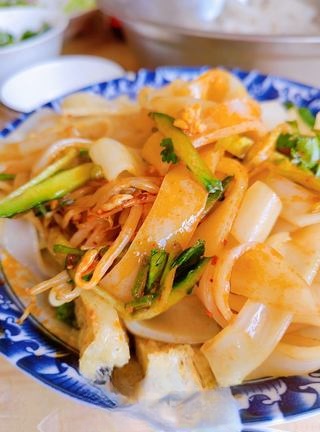
The handmade cold noodles have a good texture, chewy, smooth, and elastic, but it takes a long time to use and the process is complicated.
Video Sharing
Share your cooking video with others
No videos yet. Be the first to share!
Discussion
Ingredients
Main Ingredients
- Flourto taste
- Waterto taste
- Mung bean sproutsto taste
- Cucumberto taste
- Seasoning waterto taste
Seasonings
- cooked oilto taste
- Chili oilto taste
- light soy sauceto taste
- Aromatic vinegarto taste
- Oyster sauceto taste
Auxiliary Ingredients
- minced garlicto taste
- Corianderto taste