Homemade tiger skin sponge roll, it turned out a bit ugly the first time I made it, but it's very delicious. In the Year of the Tiger, may you be full of vigor like a tiger. Come and make one quickly.
Homemade tiger skin sponge roll — egg, milk and corn oil, baked until light, fluffy and golden. Follow the steps for the best results.
Instructions
- 1
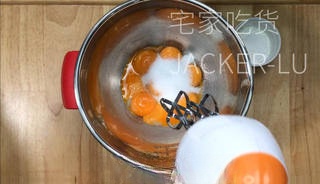
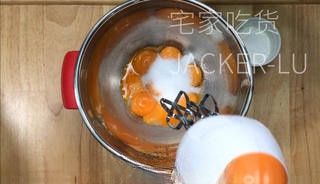
Let's first make the outer tiger skin layer. Beat together 8 egg yolks and 40 grams of fine sugar until fluffy.
- 2
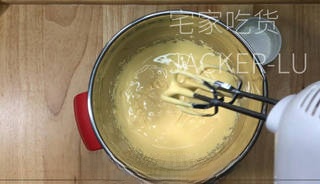
Whip until the volume increases, the color lightens, and when you lift the mixer, the batter forms an '8' pattern with the traces slowly disappearing.
- 3
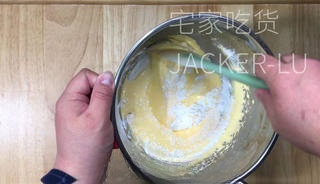
Sift in 15 grams of cornstarch and mix evenly with a spatula.
- 4
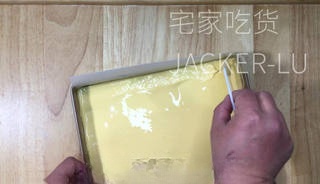
Line the baking tray with a layer of parchment paper, pour in the batter and spread it evenly, then tap it twice to remove large air bubbles.
- 5
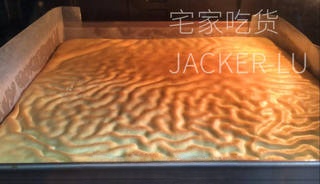
Preheat the oven to 210°C for 10 minutes. Preheating can help the oven temperature become even. Then place the baking tray in the oven and bake for 8-10 minutes. Pay attention during the last 2 minutes to avoid burning (Note: I baked for 10 minutes and it was a bit too much, causing a slight crack when rolling; 8 minutes is just right). After baking, take it out and let it cool a bit before setting it aside. It's best to cover it with plastic wrap to prevent the surface from drying and cracking.
- 6
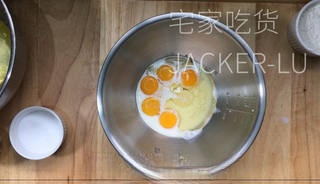
Next, we do the creaming. Take 5 eggs and separate the egg whites and yolks (Note: there must be no water or yolk in the egg whites, otherwise the egg whites will not whip well). Take 5 egg yolks separately, add 50 grams of milk and 50 grams of corn oil, and stir until fully emulsified and uniform.
- 7
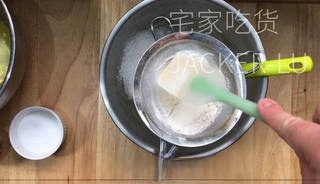
Sift in 60 grams of low-gluten flour and stir in a Z-shaped motion to prevent gluten from forming.
- 8
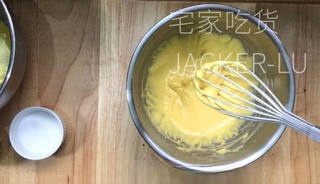
Mix until smooth and free of lumps, then set aside.
- 9
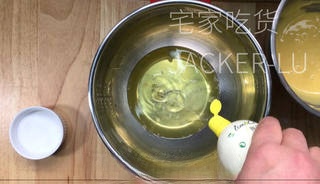
Add 5 egg whites with an appropriate amount of lemon juice, and whisk them lightly first.
- 10
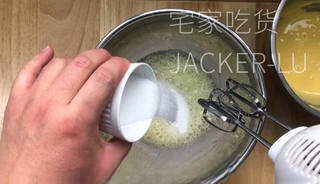
Then take 50 grams of fine granulated sugar, first add half of the sugar, and beat until the foam is delicate and fine.
- 11
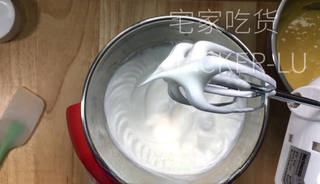
Then add the other half of the granulated sugar, continue whipping until it reaches a soft peak stage; when you lift the whisk, it should form a large, elastic curve.
- 12
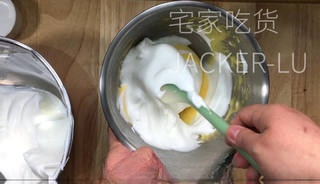
Take half of the egg white mixture and add it to the egg yolk mixture, then fold and mix evenly.
- 13
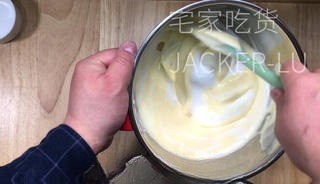
Pour it all back into the egg white mixture and fold until evenly combined.
- 14
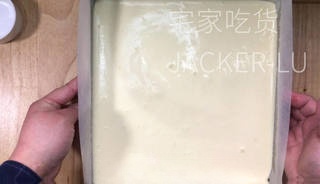
Line the baking tray with parchment paper in advance, pour the batter from a height of 20 cm, and tap it twice to remove large air bubbles.
- 15
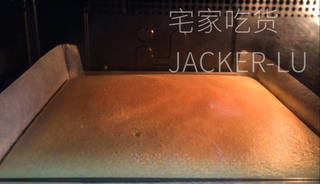
Preheat the oven to 160°C, place the baking tray in, and bake for 25 minutes.
- 16
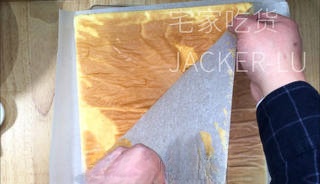
After baking, take it out and let it cool. Cover it with a sheet of parchment paper, flip it over and peel off the parchment from the bottom, then set it aside for later use.
- 17
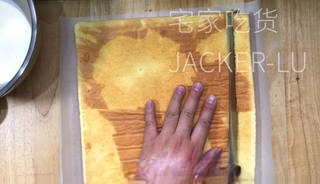
Take out the cooled cake base, and make a cut at a 45° angle at the sealed edge; this will make it roll up more roundly.
- 18
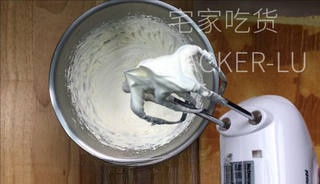
Take 200 grams of light cream and 20 grams of granulated sugar, and whip directly until it reaches a 90% stiff peak consistency.
- 19
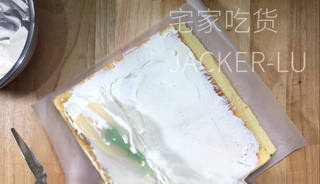
Reserve 50 grams of butter for later use in assembling the tiger skin layer, and spread the rest of the butter on the inner roll. First, evenly spread a thin layer of butter, then at the starting point of the rolling, pile the butter into small mounds; this will make it easier to roll.
- 20
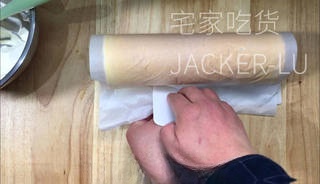
Directly lift the area with more cream and slowly press forward; it will curl up automatically. Then use a scraper to press and seal the parchment paper, and place it in the refrigerator to set.
- 21
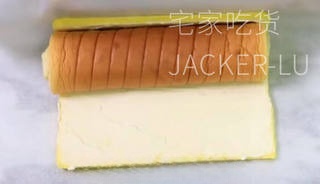
Take out the tiger skin layer and evenly spread the reserved 50 grams of light cream on the smooth side. Place the shaped inner roll on top and combine them, then continue to refrigerate to set.
- 22
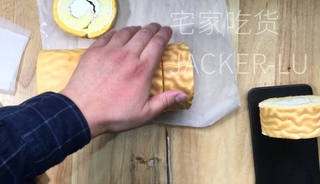
After shaping, it can be cut into pieces. Rinse the knife with hot water before cutting, this will make the cut surfaces smoother.
- 23
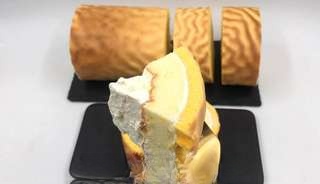
Soft, fluffy, and sweet, each bite is super rich and dense.
- 24
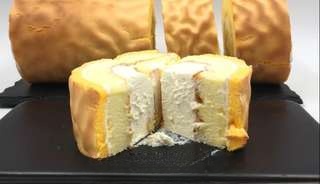
The first time, apart from the tiger skin layer being a bit dry and slightly cracked, it was actually not difficult at all, and I completed it easily.
- 25
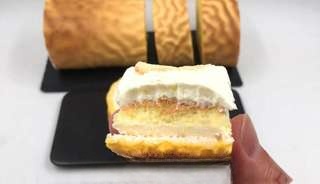
In the Year of the Tiger, may you be as mighty as a tiger; let's make a tiger-skin cake roll!
Video Sharing
Share your cooking video with others
No videos yet. Be the first to share!
Discussion
Ingredients
Main Ingredients
- Egg5 piece
- Milk50 g
- low-gluten flour60 g
- Egg yolk8 piece
Seasonings
- Corn oil50 g
- Lemon juiceto taste
- Granulated sugar50 g
- light cream200 g
- white sugar20 g
- Granulated sugar40 g
- Cornstarch15 g