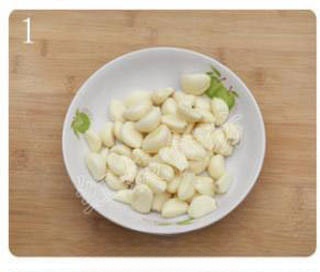
Quick-made Laba Garlic
A shortcut version that trims the root core off every clove so the vinegar penetrates quickly, cutting the waiting time for garlic to blush green dramatically.
Instructions
- 1
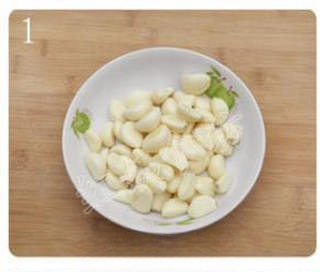
Peel the garlic.
- 2
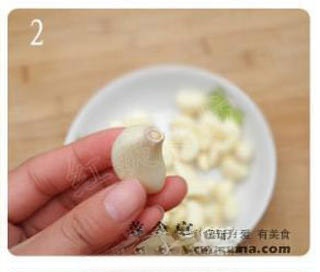
Take out a clove of garlic and have a look. Each clove of garlic has a root end, which mainly absorbs the vinegar. Then the garlic reacts with the vinegar and turns green.
- 3
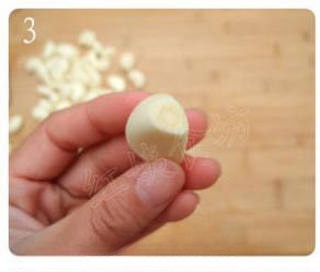
Use a knife to cut off part of the root of the garlic clove, exposing the core inside, so that the vinegar can seep into the garlic clove more quickly.
- 4
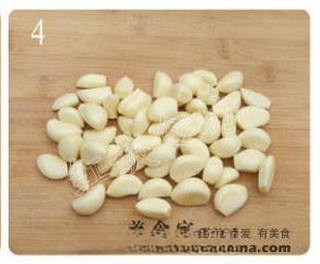
Handle the root ends of all the garlic cloves one by one.
- 5
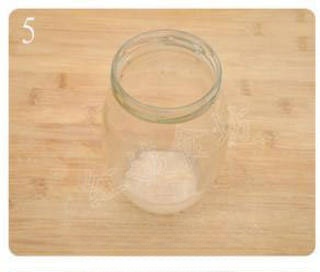
Find a glass bottle, wash it clean and dry it.
- 6
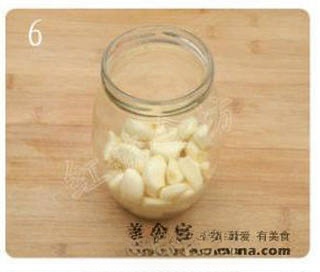
Put all the garlic cloves in, the bottle is too big, making the garlic cloves look few.
- 7
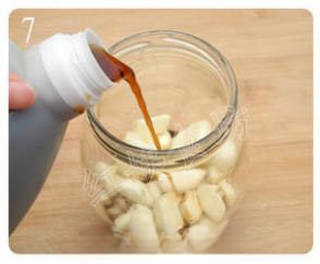
Pour in the rice vinegar until it covers the garlic cloves.
- 8
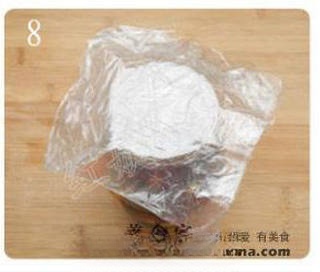
Take some plastic wrap or a few layers of a resealable bag and place it over the bottle opening; this way, when you put on the cap, the bottle can be sealed better.
- 9
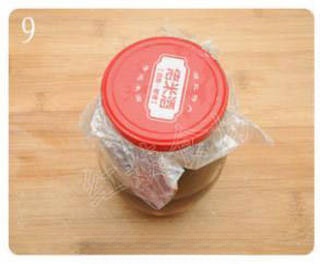
Put the lid on and tighten it.
- 10
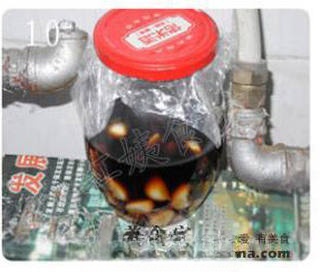
Turn on the heating. In 2 days, you can enjoy crisp and tasty Laba garlic. The heating can promote the evaporation of vinegar, allowing it to penetrate the garlic cloves more quickly, so it can turn green in a short time.
Video Sharing
Share your cooking video with others
No videos yet. Be the first to share!
Discussion
Ingredients
Auxiliary Ingredients
- Purple-skinned garlic5 heads
Seasonings
- rice vinegarto taste