Three-Strand Braid Milk Bread
Easy and satisfying, Three-Strand Braid Milk Bread uses high-gluten flour, low-gluten flour and dry yeast and is baked until golden and fragrant. Great for beginners and experienced home cooks alike.
Instructions
- 1
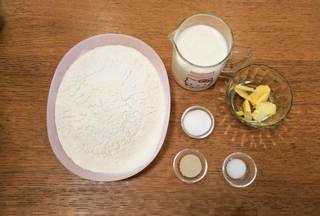
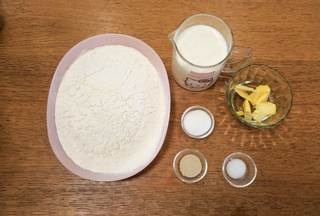
Materials are ready;
- 2
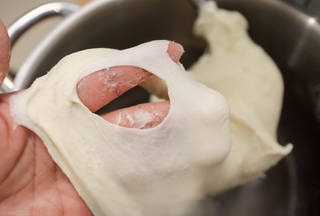
Put all the main ingredients except for the butter into the dough mixer, mix at low speed for 2 minutes, then switch to high speed and beat for 10 minutes, until the dough forms a rough windowpane.
- 3
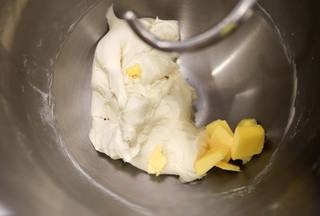
Add the softened butter and beat at low speed for 3 minutes, until the butter is fully incorporated into the dough;
- 4
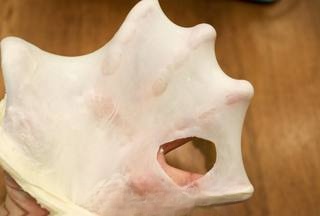
Beat at high speed for about 8 minutes, until the dough can stretch into a thin, elastic, translucent film.
- 5
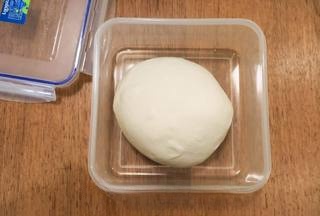
Shape the dough into a round ball, place it in a food storage container, and let it ferment in a warm and humid place.
- 6
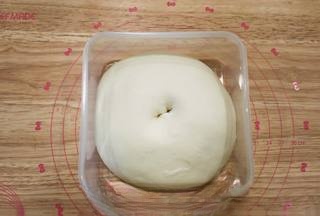
Let the dough rise until it doubles in size, then dip your finger in flour and poke a hole in the top; it should not collapse or shrink back.
- 7
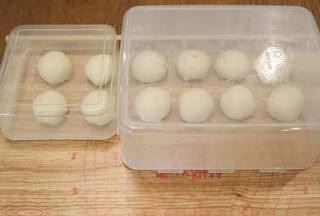
Gently punch down the dough to release the air, weigh and divide it into 12 equal portions, shape into balls, and let rest for about 15 minutes;
- 8
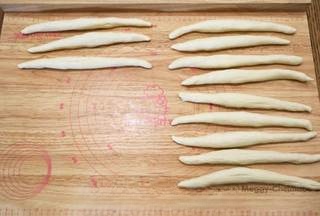
Divide into two portions and roll into 25 cm long noodles with pointed ends;
- 9
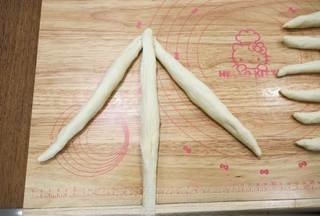
Braid A, the most common 3-strand braiding method: as shown in the picture, the top of the 3 strands are placed together;
- 10
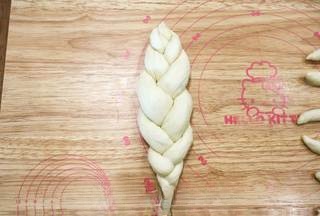
Interwoven with each other, pinched tightly at the tail;
- 11
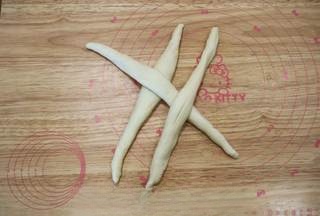
The braiding method for B is to braid from the center towards both sides; as shown in the figure, three strands of noodles are crossed in the middle.
- 12
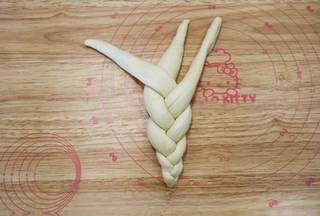
First braid the section below, using the same method as a traditional three-strand braid;
- 13
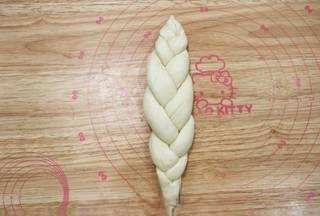
Finish braiding the other half and pinch the end tightly.
- 14
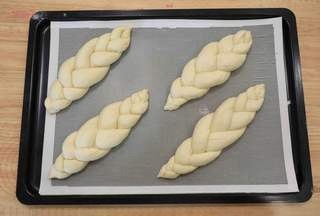
Place them on a baking tray; the two on top are the traditional A braid, the two on the bottom are the B braid, and there is not much difference in shape; let them undergo a second fermentation in a warm and humid place. I put them in the oven, using the fermentation function at 35 degrees, spraying a little mist to increase humidity, and ferment for 30 minutes.
- 15
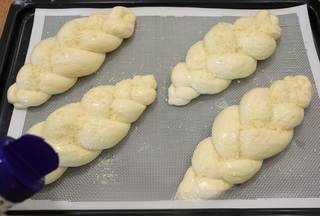
Bake until twice as large, brush the surface with egg wash, and sprinkle with cheese powder;
- 16
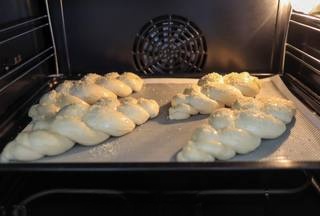
Place in the middle layer of the preheated oven, bake with both upper and lower heat at 180/190°C for about 20 minutes;
- 17
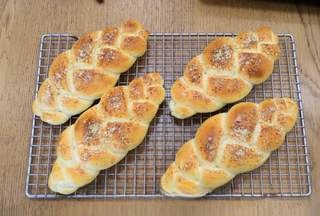
After coming out of the oven, move it to a cooling rack, and once cooled, store it in a bag.
- 18
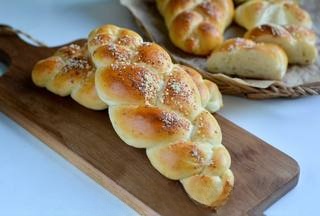
Braided milk bread, both soft and chewy!
Video Sharing
Share your cooking video with others
No videos yet. Be the first to share!
Discussion
Ingredients
Main Ingredients
- High-gluten flour250 g
- low-gluten flour50 g
- Dry yeast3 g
- Milk240 g
- beaten eggsa pinch
- Cheese powderto taste
Seasonings
- Granulated sugar10 g
- Salt3 g
- Butter25 g